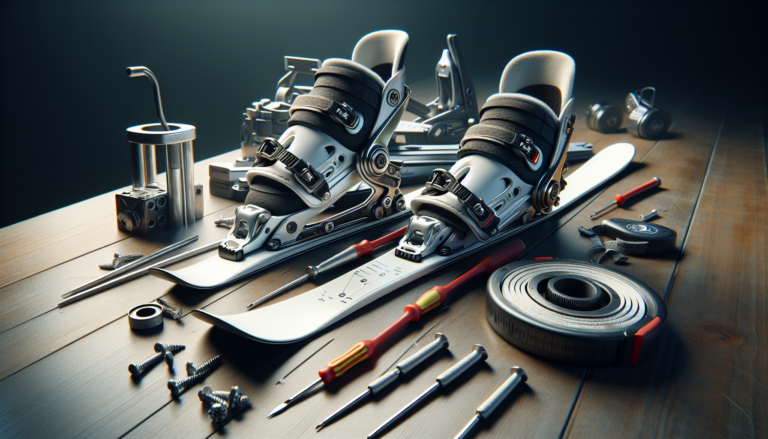
Mounting ski bindings is a crucial step in preparing your skis for the slopes. Proper installation ensures not only optimal performance but also the safety of the skier. This comprehensive guide will walk you through the process of mounting ski bindings, providing valuable tips and tricks along the way.
Introduction to Mounting Ski Bindings
Ski bindings are the essential components that connect your boots to your skis, allowing you to control your movements and release from the skis when necessary. Mounting ski bindings correctly is vital for both your skiing performance and safety. This guide will help you understand the importance of proper mounting and equip you with the knowledge to do it yourself.
Why Proper Mounting is Important
Properly mounted ski bindings play a critical role in your overall skiing experience. They ensure that your boots are securely attached to your skis, providing the necessary control and responsiveness. Incorrect mounting can lead to a host of issues, such as:
- Reduced skiing performance
- Increased risk of injury
- Premature wear and tear on your equipment
By taking the time to mount your bindings correctly, you can enjoy a safer and more enjoyable skiing experience.
Tools and Materials Needed
Before you begin the mounting process, gather the following tools and materials:
- Drilling jig
- Special drill bit (designed for drilling into skis)
- Screwdriver
- Measuring tape
- Ski bindings and accompanying screws
Having these items on hand will make the mounting process smoother and more efficient.
Step-by-Step Guide to Mounting Ski Bindings
Now that you have a better understanding of the importance of proper mounting and the necessary tools, let’s dive into the step-by-step process.
Step 1: Marking the Position
The first step is to determine where on the skis you will mount the bindings. Most skis have a factory-recommended line that indicates the optimal position for the bindings. This line is typically located at the true center point of the ski, which is ideal for all-mountain skiing.
However, if you prefer a specific skiing style, such as freestyle or freeride, you may want to adjust the binding placement accordingly. It’s essential to consult with a professional or refer to the manufacturer’s guidelines before deviating from the recommended position.
Step 2: Measuring Boot Length
To ensure proper spacing between the toe and heel pieces of the bindings, you need to measure your boot length. Place your ski boot on the ski, aligning the toe with the marked position from step 1. Measure the distance from the heel of the boot to the tail of the ski. This measurement will determine the placement of the heel piece.
Step 3: Drilling the Holes
Using the drilling jig and the special drill bit, carefully drill the holes for the binding screws. The jig ensures that the holes are precisely aligned and at the correct depth. Take your time and double-check the positioning before drilling each hole.
Step 4: Securing the Bindings
With the holes drilled, it’s time to secure the bindings to the skis. Place the toe and heel pieces in their respective positions and insert the screws. Use a screwdriver to tighten the screws, being careful not to over-tighten them. Over-tightening can damage the bindings or the skis themselves.
Safety Tips and Common Mistakes
While mounting ski bindings is a relatively straightforward process, there are some safety considerations and common mistakes to keep in mind.
Ensuring Proper Alignment
One of the most crucial aspects of mounting bindings is ensuring that they are properly aligned. Misaligned bindings can lead to poor skiing performance and increase the risk of injury. Double-check the alignment of the toe and heel pieces before fully tightening the screws.
Avoiding Over-Tightening
As mentioned earlier, over-tightening the binding screws can cause damage to both the bindings and the skis. Use a screwdriver with a torque limiter or be cautious not to apply excessive force when tightening the screws. It’s better to err on the side of caution and have the bindings slightly loose than to risk damaging your equipment.
Additional Resources and Professional Help
While this guide provides a comprehensive overview of the mounting process, there may be times when you need additional assistance or prefer to have a professional handle the installation.
When to Seek Professional Help
If you are unsure about any aspect of the mounting process or encounter difficulties along the way, don’t hesitate to seek professional help. Ski shops have experienced technicians who can mount your bindings quickly and accurately. This is especially important if you are new to the process or have limited experience with ski equipment.
Useful Links and Tutorials
In addition to this guide, there are numerous online resources available to help you with mounting ski bindings. Some useful links include:
- Manufacturer’s installation guides
- Video tutorials demonstrating the mounting process
- Ski forums where you can ask questions and receive advice from experienced skiers
| Resource | Description |
|---|---|
| Manufacturer’s Website | Specific installation instructions for your binding model |
| YouTube Tutorials | Visual guides walking you through the mounting process |
| Ski Forums | Community-driven discussions and advice from experienced skiers |
By utilizing these resources and following the step-by-step guide provided, you can confidently mount your ski bindings and enjoy a safe and enjoyable skiing experience.


