Introduction to Snowboard Edge Repair
Snowboard edge repair is an essential aspect of maintaining your board’s performance and longevity. Properly fixing damaged edges can significantly improve your riding experience and prevent further damage to your snowboard. Whether you’re a seasoned rider or a beginner, understanding the basics of snowboard edge repair is crucial for keeping your board in top condition.
Neglecting to repair damaged edges can lead to a host of problems, such as reduced control, decreased speed, and even the risk of injury. By taking the time to address edge issues promptly, you can ensure that your snowboard performs at its best and lasts for many seasons to come.
Why Snowboard Edge Repair is Important
Snowboard edge repair is vital for maintaining the integrity and performance of your board. Damaged edges can significantly impact your riding experience, making it more difficult to control your board and navigate various terrain. When left unaddressed, minor edge damage can quickly escalate into more severe issues, potentially rendering your snowboard unusable.
Additionally, damaged edges can pose a safety risk, as they may catch on obstacles or cause unexpected behavior while riding. By prioritizing snowboard edge repair, you can ensure a safer and more enjoyable experience on the slopes.
Common Causes of Snowboard Edge Damage
Snowboard edges are susceptible to various types of damage, often resulting from regular use and exposure to harsh conditions. Some common causes of edge damage include:
- Hitting rocks, stumps, or other obstacles on the mountain
- Riding on icy or hard-packed snow
- Improper storage or transportation of your snowboard
- Normal wear and tear over time
By understanding the common causes of edge damage, you can take steps to minimize the risk of damage and prolong the life of your snowboard.
Tools and Materials Needed for Snowboard Edge Repair
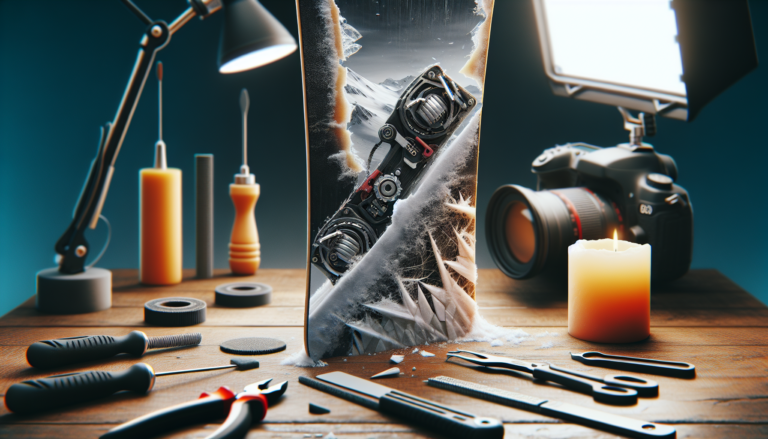
To effectively repair your snowboard edges, you’ll need a few essential tools and materials. Having the right equipment on hand can make the repair process much smoother and ensure long-lasting results. Here’s a list of the items you’ll need:
Essential Tools for Edge Repair
- File: A file is used to smooth out any burrs or rough spots on the edges.
- Stone: A sharpening stone helps to restore the sharpness of the edges after filing.
- Utility knife: A sharp utility knife is necessary for cutting out damaged sections of the edge.
- Dremel: A Dremel rotary tool can be used for precise cutting and grinding during the repair process.
- Edge screws: Replacement edge screws are used to secure the new edge in place.
Materials Required for Effective Repairs
- Replacement edge: A new section of edge material is needed to replace the damaged portion.
- P-Tex: P-Tex is a polyethylene material used for filling in gouges and scratches on the base of the snowboard.
- Loctite Epoxy Hysol 11C: This high-strength epoxy is used to bond the new edge to the snowboard.
- Base patch: A base patch may be necessary to repair any damage to the base material surrounding the edge.
- Hot wax: Applying hot wax to the repaired area helps to protect the base and ensure a smooth ride.
Step-by-Step Guide to Snowboard Edge Repair
Now that you have gathered the necessary tools and materials, it’s time to begin the snowboard edge repair process. Follow these steps carefully to ensure a successful repair and restore your board’s performance.
Assessing the Damage
Before beginning the repair, thoroughly inspect the damaged edge to determine the extent of the issue. Look for any cracks, burrs, or missing sections of the edge. If the damage is extensive, it may be necessary to replace a larger portion of the edge than initially anticipated.
Take note of the location and length of the damaged area, as this will guide you in the subsequent steps of the repair process.
Preparing the Snowboard for Repair
To ensure a clean and effective repair, it’s essential to properly prepare your snowboard. Start by cleaning the area around the damaged edge, removing any dirt, debris, or old wax. This will help the new edge adhere properly and prevent any contaminants from interfering with the repair.
If necessary, use a base cleaner or solvent to remove stubborn grime or residue. Once the area is clean, use masking tape to protect the surrounding base material from any potential damage during the repair process.
Cutting Out the Damaged Edge
Using your utility knife, carefully cut out the damaged section of the edge. Make sure to follow the existing edge line as closely as possible to maintain the original shape and contour of the snowboard. If the damage is extensive, you may need to use a Dremel tool to remove larger sections of the edge.
Take your time during this step, as a precise and clean cut will make it easier to install the new edge and ensure a seamless repair.
Installing the New Edge
With the damaged section removed, it’s time to install the new edge. Start by measuring and cutting the replacement edge to the appropriate length, ensuring a snug fit within the repair area.
Apply a thin layer of Loctite Epoxy Hysol 11C to the underside of the new edge and the exposed core of the snowboard. Carefully place the new edge into position, aligning it with the existing edge line. Use edge screws to secure the new edge in place, ensuring a tight and flush fit.
Allow the epoxy to cure according to the manufacturer’s instructions before proceeding to the next step.
Finishing Touches: Sanding and Waxing
Once the epoxy has fully cured, use a file to smooth out any rough spots or excess material along the repaired edge. Pay close attention to blending the new edge seamlessly with the existing edge to maintain a consistent profile.
After filing, use a sharpening stone to restore the sharpness of the repaired edge, ensuring optimal performance on the slopes.
Finally, apply a generous coat of hot wax to the repaired area and the entire base of the snowboard. This will help protect the repair, reduce friction, and promote a smooth ride.
Preventative Maintenance for Snowboard Edges
While snowboard edge repair is an essential skill to have, taking preventative measures can help minimize the need for frequent repairs. By following a few simple maintenance practices, you can keep your snowboard edges in top condition and extend the life of your board.
Regular Inspection and Cleaning
One of the most effective ways to prevent edge damage is to regularly inspect your snowboard for any signs of wear or damage. After each ride, take a few minutes to visually examine the edges, looking for any burrs, cracks, or dents.
In addition to inspection, regular cleaning of your snowboard edges can help prevent rust and other damage caused by moisture and debris. Use a soft brush and mild soap to gently clean the edges, removing any dirt or grime that may have accumulated during use.
Proper Storage Techniques
Proper storage of your snowboard can also play a significant role in preventing edge damage. When not in use, store your snowboard in a cool, dry place, away from direct sunlight and extreme temperatures. Use a snowboard bag or a soft cloth cover to protect the edges from scratches and dings during storage.
Avoid storing your snowboard in a damp or humid environment, as this can lead to rust and corrosion of the edges. If possible, store your snowboard vertically, with the base facing outward, to prevent any unnecessary pressure on the edges.
Additional Resources and Expert Advice
While this guide provides a comprehensive overview of snowboard edge repair, there may be times when you need additional assistance or advice. Fortunately, there are several resources available to help you navigate the repair process and ensure the best possible results.
Consulting Snowboard Experts
If you’re unsure about any aspect of the snowboard edge repair process, don’t hesitate to consult with a snowboard expert. Many ski and snowboard shops offer repair services and can provide valuable guidance on the best techniques and materials to use for your specific situation.
Some notable snowboard experts who may be able to offer assistance include:
- Snowboard Expert Jasmine Lee
- Snowboard Expert Justin Jones
- Snowboard Expert Spencer I
These experts have years of experience in snowboard maintenance and repair and can offer personalized advice to help you achieve the best possible results.
Video Tutorials and Online Guides
In addition to in-person consultations, there are numerous video tutorials and online guides available that can provide visual demonstrations of the snowboard edge repair process. YouTube is an excellent resource for finding step-by-step repair tutorials, with many experienced snowboarders sharing their knowledge and techniques.
When searching for video tutorials, look for well-established channels or snowboard brands that have a reputation for providing accurate and helpful information. Some popular snowboard repair tutorial channels include:
- Snowboard Addiction
- Buckmans
- Tactics Boardshop
Community Feedback and Tips
Engaging with the snowboarding community can also be a valuable way to gather tips and advice on snowboard edge repair. Online forums and social media groups dedicated to snowboarding often feature discussions on repair techniques, recommended tools, and personal experiences with different repair methods.
By participating in these discussions, you can learn from the collective knowledge of experienced snowboarders and gain insights into the most effective repair strategies. Additionally, you may be able to connect with local snowboarders who can offer hands-on assistance or guidance if needed.
Remember, the key to successful snowboard edge repair is a combination of the right tools, materials, and techniques. By following the steps outlined in this guide and seeking additional resources when necessary, you can confidently tackle edge repairs and keep your snowboard performing at its best for years to come.


